
If you've got a sewing machine, you can make this bag. (Technically, I suppose you could sew it by hand, too, but I'm not getting involved in that kind of madness.) There is really nothing quite like the rush of walking around town carrying a bag you made yourself. And when I say this is easy, I mean it. No pattern! You only have to sew straight lines! And I will walk you through the whole thing, step by step.
It'll be fun!
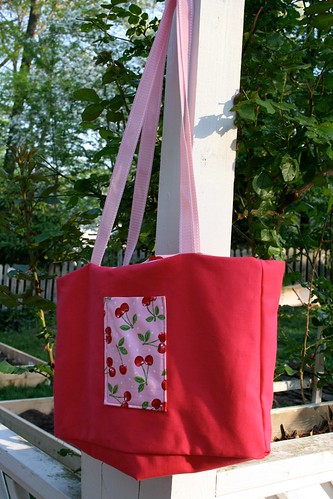
First, decide how big of a bag you want. A giant tote? A market bag? Something to fit a few library books? Measure bags you already own to get a feel. The pictured bag is 12 by 18 inches, and 2 inches deep.
Next, it's off to the fabric store for supplies!
I like to use a heavy-weight fabric for the outside of the bag. I've used duck cloth (canvas) and denim. Of the two, I found the denim easier to work with -- but maybe because the denim I chose was hot pink and a bit thinner and more flexible than traditional jeans denim. You just don't want to use a flimsy fabric, or your bag will fall apart too quickly and then you will be sad. Something nice and sturdy. And definitely, woven and not knit. (If you're not sure, ask someone at the fabric store.)
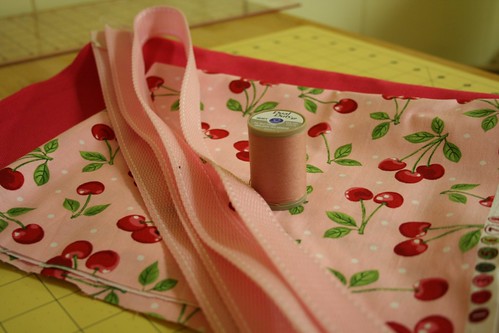
Once you've chosen a nice sturdy fabric for the outside of the bag, now you can look for a fun print or contrasting fabric for the lining and optional pocket. This fabric can be flimsy, as long as it's still woven. I chose this incredibly cheerful cherries print because it made me smile, and because it made me think of the lovely lady for whom I made this bag.
You will need about a half a yard of each fabric, unless the bag you're making is really huge.
You'll also need thread in a coordinating color. I use heavy thread, because I feel like it makes the finished product that much stronger.
And, you'll need straps. They sell this stuff by the yard, too, so find a color and texture you like, and have them cut you two yards of it. That should be plenty for nice long straps -- you could use a little less if you want shorter straps more like handles on a tote bag. Up to you.
To recap, supplies:
1/2 yard heavyweight fabric (duck cloth, canvas, denim)
1/2 yard contrasting lighter-weight fabric
2 yards of strap/belting
1 spool of heavy thread in coordinating color
Now, if you want to be persnickety, would be the time to iron your fabric so it's nice and smooth before you measure and cut. But since we're not working with a pattern here, this isn't 100% necessary. And I hate ironing. But if you like it, knock yourself out.
Math time! How big did you want your bag again? I'll use the 12 x 18 x 2 measurements of this bag here, but insert the dimensions of your desired finished size. Basically, you're going to be adding a half-inch all the way around for seam allowance. So here are the pieces I will need to make my 12 x 18 x 2 bag:
Two 12.5 x 18.5 pieces of fabric A (the heavier one) - for the outside front and back
Two 12.5 x 18.5 pieces of fabric B - for the lining front and back
Two 2.5 x 18.5 pieces of fabric A - for the outside bottom and lining bottom
Four 2.5 x 12.5 pieces of fabric A - for the sides, outside and lining
Notice that I'm using the heavier fabric for the bottom and sides of the lining as well as the outside of the bag. This is truly necessary for the bottom of the lining, because it's going to get the most abuse. The lining sides could be the lighter fabric, it doesn't matter. I just had more of the hot pink on hand.
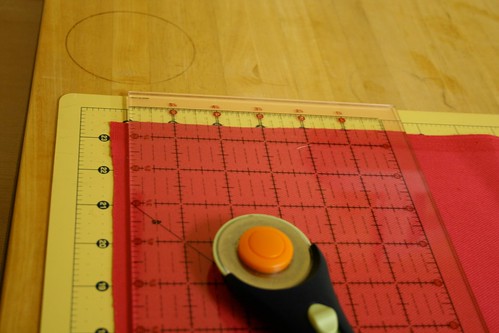
If you have a rotary cutter, awesome. If not, you'll have to cut carefully by hand. I like to use a ruler to measure and draw a light line with a ballpoint pen around where I'm going to cut. But I must say, I've been a happier girl ever since I broke down and bought a rotary cutter and self-healing mat.
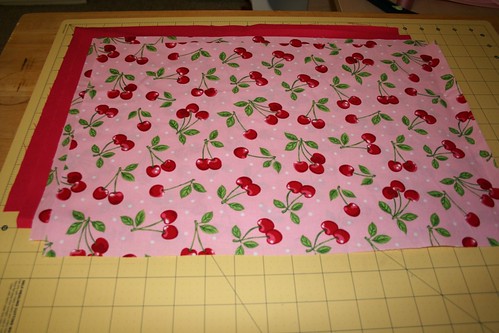
So now you should have your two fronts and two backs:
And your panels for the sides and bottom:

Now if you want to do a little outside pocket, cut one out of your contrasting fabric.
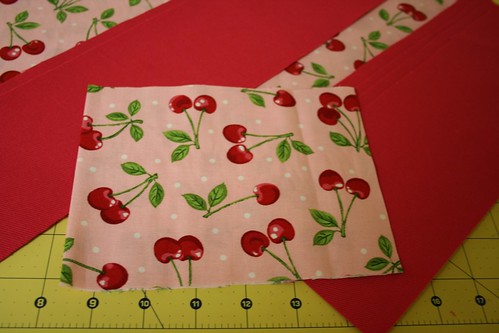
What I like to do is to fold the fabric, and cut out my pocket shape of the folded-over fabric, using the fold as the top of the pocket. That way you don't have to hem it, and the pocket is a little bit stronger.
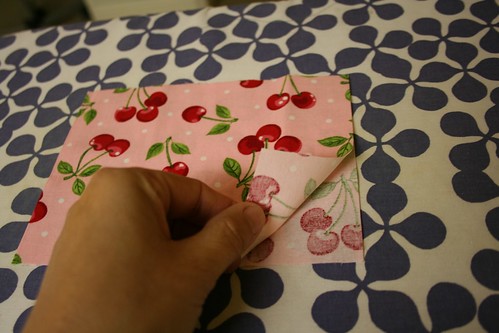
Now would be a good time to iron your pieces if you didn't already. And while you've got your iron out, you can prep your pocket. You're going to want to fold the edge over all the way around and iron it down. This way you won't have ragged edges showing on the outside of your bag, the ragged edges will be on the inside of the pocket. If the corners seem bulky as you're folding over, feel free to trim them down like so:
Okay, ready to sew!
First, grab all your skinny pieces. You should have six of them. Unless you're making your bag perfectly square, you should have two of one length and four of another length. If your bag is like mine, and wider than it is tall, you'll have four shorts and two longs. If your bag is taller than it is wide, you'll have four longs and two shorts. Does that make sense?
You're going to sew three of these together to make one long strip. In my case, the strip goes short, long, short. Basically, it's a side, then the bottom, then the other side. If your fabric has a right side and wrong side, make sure you are putting them right sides together when you sew them.
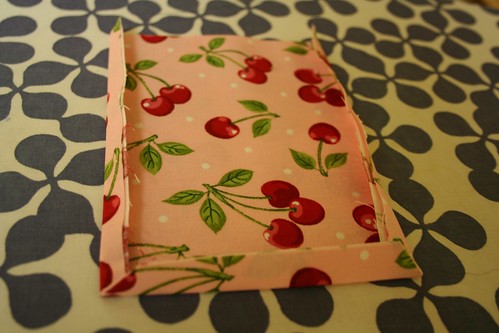
If you're sewing a pocket on the front, do that now. Just position the pocket where you want it, and sew around three sides, leaving the top open. Make sure to stitch back and forth at the beginning and end of your sewing to secure the thread.
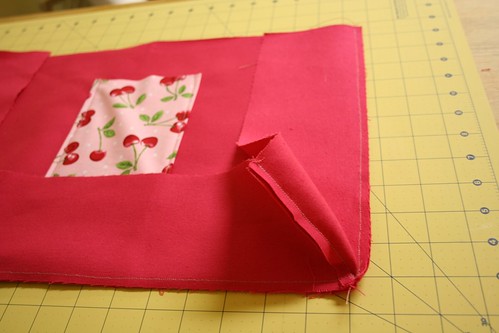
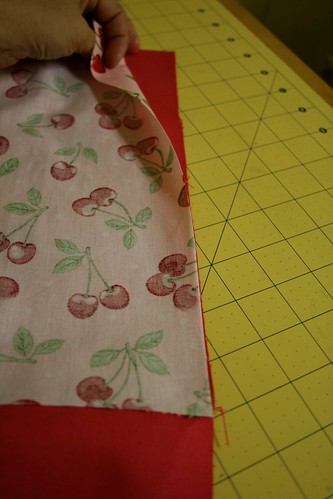
Now, you're going to attach your long strip to the front panel. Hold the right side of your strip against the right side of your front panel, and stitch down the side, stopping 1/4 inch from the bottom. You should be right where the first seam in your strip is. Now, with the needle in the fabric, lift the presser foot, and turn the fabric so you're ready to sew along the bottom of the front panel. Tug the middle section of your strip into place, so you'll be sewing the middle section of strip onto the bottom section of the front panel. Stop 1/4 inch before the end of the bottom panel, turn your fabric again, and sew up the other side.
It should now look like this:
Now, although it's somewhat complicated by the fact that the side panels are already attached to the front, you're going to do the same thing to attach the back panel to the sides and bottom. Remember, right sides together.
You may find that you have some irregularities around the top. Do not worry. Because this bag is fully lined, all seams are hidden, and all imperfections will be disguised. It's okay for it to look a little rough at this point.

Now, turn the outside of your bag right-side-out, and ta-da! It's starting to look like something!

Now you're going to do the exact same thing again to make the lining of the bag. (Think of this bag as two bags, one inside of the other.) First, you'll sew your skinny pieces to each other to make a long strip. Side, bottom, side.
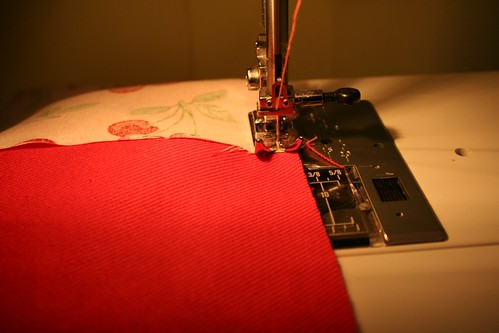
Next you'll sew the right side of your front lining to the long strip. Remember, right sides together!
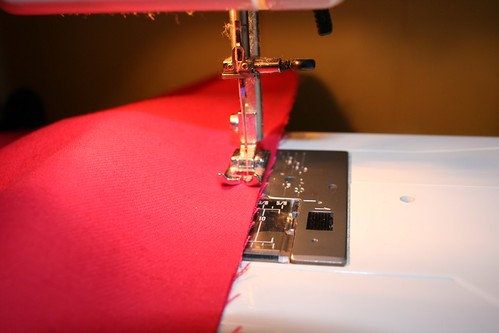
Stop 1/4 inch before the end of the side, and turn the fabric. Here, I'll show you...
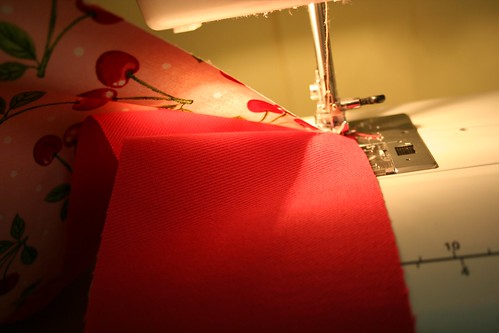
Leave the needle down, serving as a pivot point for you to turn your fabric:
Now turn the front lining panel 90 degrees:
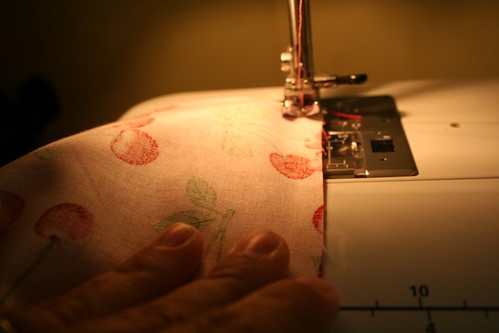
Tug your bottom panel into place so it lines up with the bottom of your front lining panel, and continue:
And sew the back lining panel to the sides in a similar way.
Now you should have two bag-shaped things. If you tuck the lining inside the other one, you can start to see how it's going to come together.
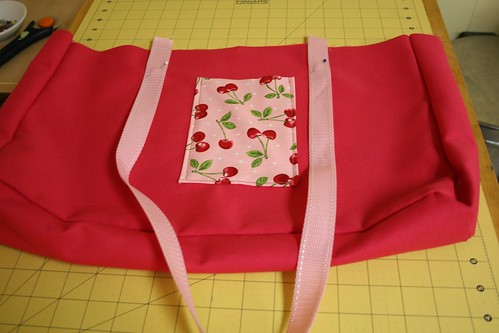
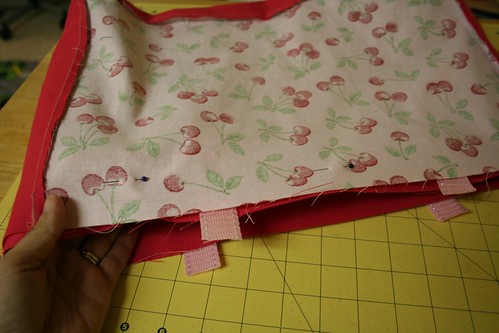
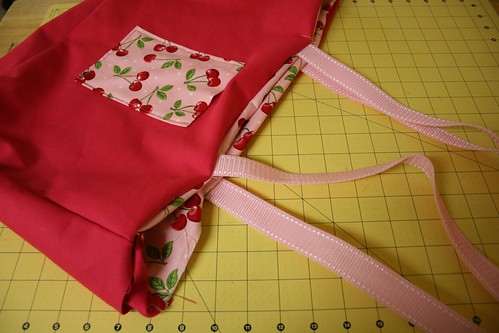
Now, put the lining aside. Take the outside of the bag, right-side-out, and position the straps where you want them. You're going to pin them so that the straps are pointing down. This might seem really weird and wrong, but trust me. It should look like this:
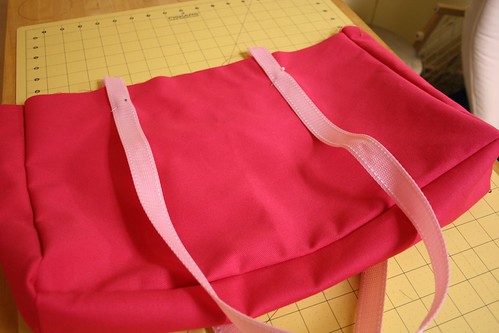
And pin the other strap to the back panel like so:
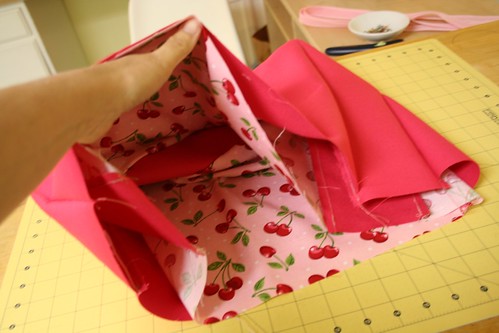
Okay. Now stay with me here. You're going to take the right-side-out bag, with the straps pinned on, and you're going to tuck the whole thing inside the inside-out lining. Right sides together, remember? When you're sewing, you should always be looking at the wrong side of your fabric. So you'll be looking at the wrong side of the lining of the bag. And you'll have a sandwich of lining, then straps, then outside of bag. It looks weird, I know.
Pin along the top of this sandwich. This is going to be the seam along the top of your bag, connecting the outside to the lining, out of which the straps will be poking.
Now you're going to take this big honkin' sandwich, and sew along the tops.
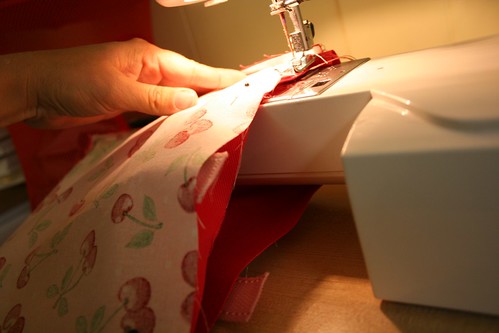
When you get to each strap, sew back and forth a few times for extra durability.

Important! DO NOT sew all the way around! You must leave a gap so you can turn the whole thing right-side-out. Four inches should be sufficient. As always, stitch back and forth at the beginning and end of your sewing to secure the stitches.
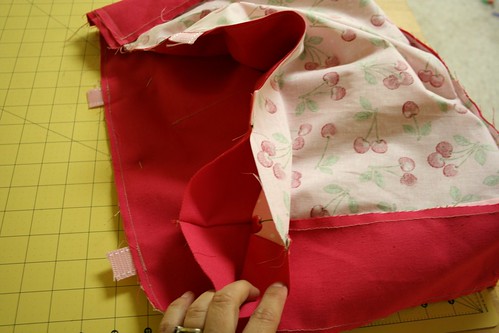
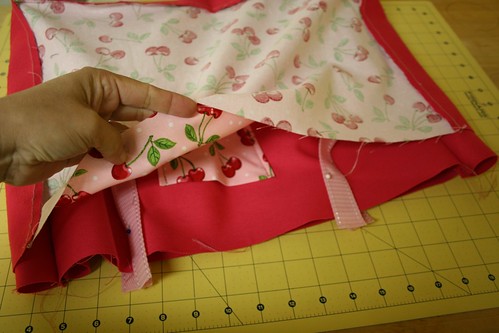
Now you're going to reach your hand in, and grab hold of the outside of the bag...

And pull the outside of the bag out of the hole, so the whole thing is right-side-out.
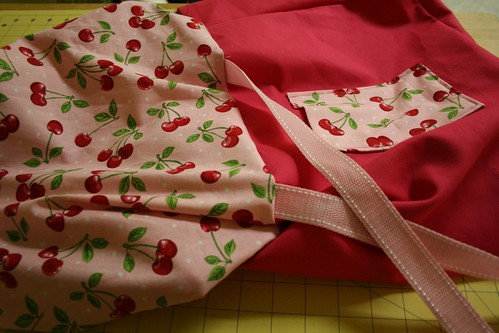
Tuck the lining inside the outside of the bag, and... presto!
**Edited to add: And now you need to hand-sew the remaining four inches of seam. Tuck in the seam allowance, and carefully topstitch over the gap. Many thanks to The Fifth Street Mama for pointing out the omission! Brain freeze!
You can iron along the top to get a nice crisp edge, or you can just pick up your bag and go.

It wasn't that bad, was it?

Once you've done it once, you can make a zillion of them. Any size you like, because there's no pattern! Have fun!

You could also top stitch around the opening to give it that extra finishing touch. Very cute bag.
ReplyDeleteFinally! I've been looking for a blog that explains how to do a lined tote bag tutorial in language that I can understand, and this one definitely makes me feel up to the challenge. Thank you for explaining the fabric sandwich so well instead of just showing a picture and expecting us to figure it out (which is what a lot of other blogs I looked at did). haha =D
ReplyDeletethese steps helped me finish the last pat on my tech project bag
ReplyDeleteWONDERFUL INSTRUCTONS!! CANT WAIT TO MAKE ONE, THANK YOU!!
ReplyDeleteMiss Laura, you nailed it! I made a bag in one evening for my sister and it is SO cute. I agree with Leanna - your explanations were awesome!
ReplyDeleteNow I want my own bag! THANK YOU!