I like a little excitement in my gardening. So I start just about everything from seed.
I made myself a nifty little calendar where I counted back from Mother's Day (the accepted planting date around here) the number of weeks necessary to start each kind of plant. So pretty much each Sunday from now until late April, I'll be starting some seeds. Today was quite a milestone -- we got to plant the very first seeds. Leeks, apparently, take forever to grow into those long, sleek stalks you see in the grocery store, so there was no time to lose.
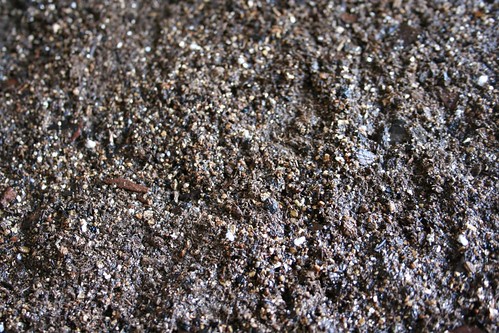
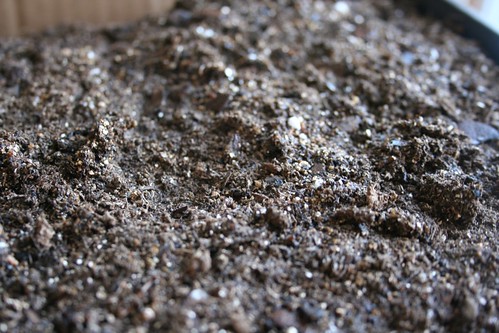
I surveyed the supplies in the garage and found a small bag of Jiffy seed starter mix. And of course, a seed starting tray. (At one point, I had five of these. There are only two in the garage. Hmm.) Fill loosely with seed starter mix, water well, let the water soak in for about 20 minutes, and you're ready to go.
We planted the leeks quite shallowly, both because my various guides said to plant to a depth of 1/4 to 1/2 an inch and because I had a five-year-old helping me.
Ever wonder what leek seeds look like? They look like this:
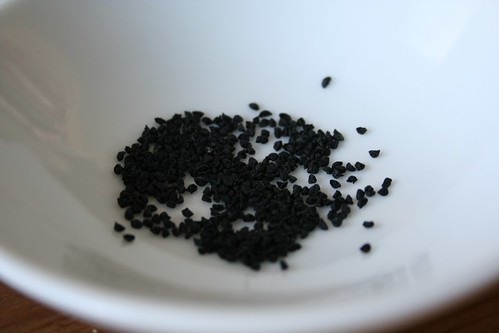
Cool! We tucked the seeds gently into the soil, and watered well. Then we put the plastic cover on to ensure the soil stays moist. (You only use the plastic cover until the seeds germinate. Once you have bona-fide seedlings, you lose the cover, since they'll need to, you know, breathe.)
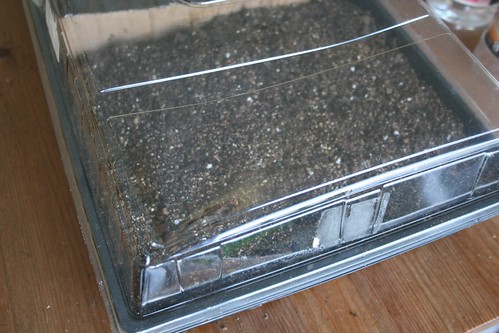
And now we wait. 4-12 days, saith my seed packet. Sigh, it always feels like forever. In the meantime, we just have to keep the soil moist. The trouble with watering seeds and seedlings is that they need very, very gentle watering. You have to be very careful not to damage the tender sprouts. A few years ago, I came up with a DIY watering bottle that does a great job of watering gently but thoroughly.
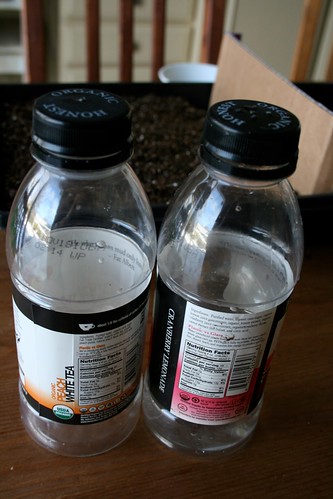
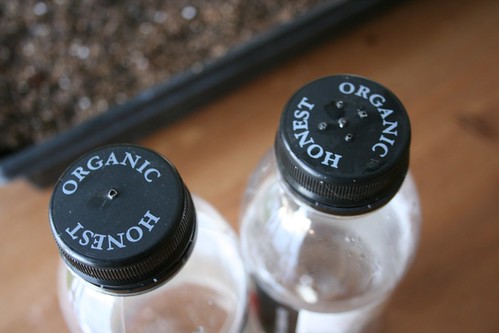
Take any flexible plastic bottle, such as a water bottle or 20-ounce soda bottle. Use an awl or a hammer and nail to make holes in the screw-on lid. I have one bottle with just a single hole, for when I need a tiny, targeted trickle of water, and another with several holes. Fill with water, turn upside down, and squeeze gently. The single-hole one is great for when you want to water around the bottom of a seedling without wetting the leaves.
Ahh. I can't tell you what a thrill it is to have my hands in the dirt for the first time this year. Simple pleasures. Next week: thyme!
Thanks so much for this. I am likely not going to start anything from seed this year because we will be moving into our new house in March and I look forward to starting plants from seed next year.
ReplyDelete